How to Make a Stylish Dog Bed
With Phoenix’s birthday coming up in two weeks, I wanted to make something special. I have been looking for a plush but comfortable dog bed for Phoenix for weeks but they are either flimsy or too expensive.

With Phoenix’s birthday coming up in two weeks, I wanted to make something special. I have been looking for a plush but comfortable dog bed for Phoenix for weeks but they are either flimsy or too expensive. After seeing a great palm leaf dog bed in a boutique store, I knew that I could make the same high quality bed myself. I needed some supplies, patience, and about four hours of spare time.

Supplies:
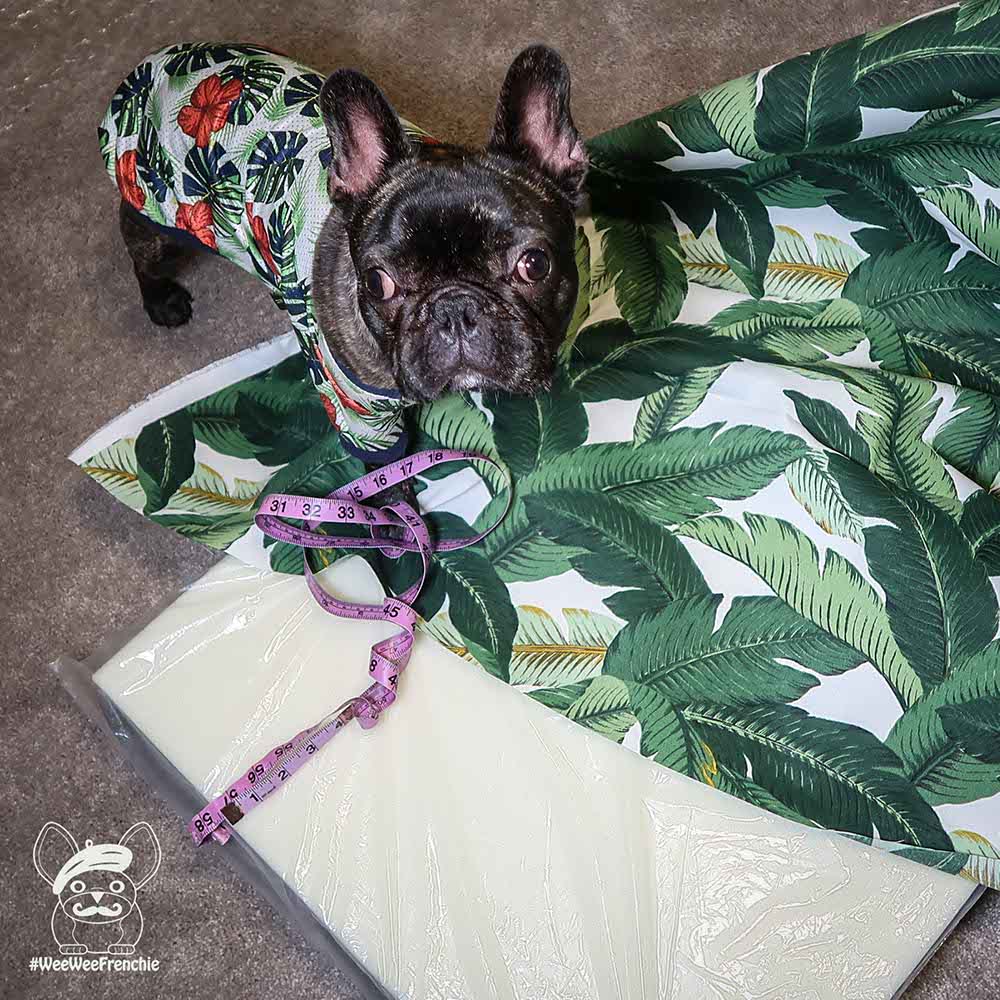
Tommy Bahama Indoor/Outdoor Fabric
Fray Check (to seal edges of the loose fabric)
Heavy duty thread (It will need to be strong to withhold the use it will get)
Dritz double-sided clear adhesive tape
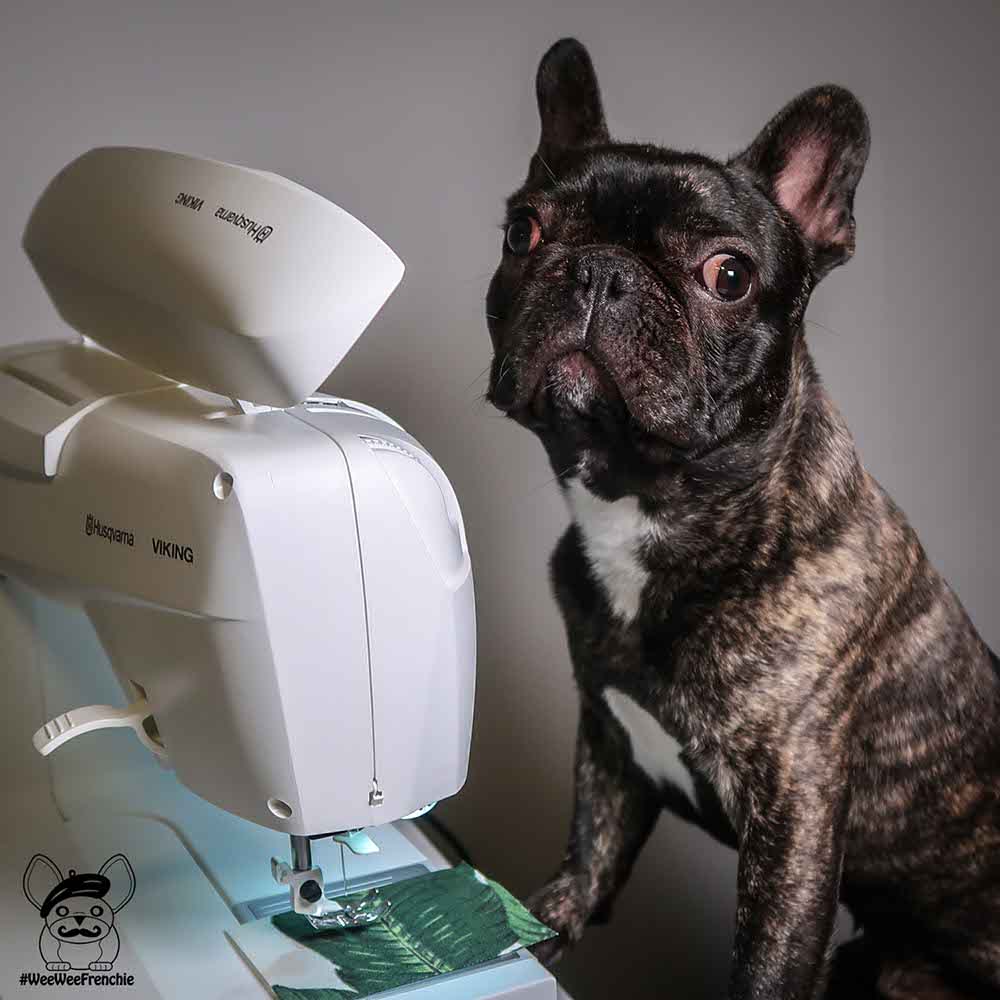
Steps:
- Get supplies gathered.
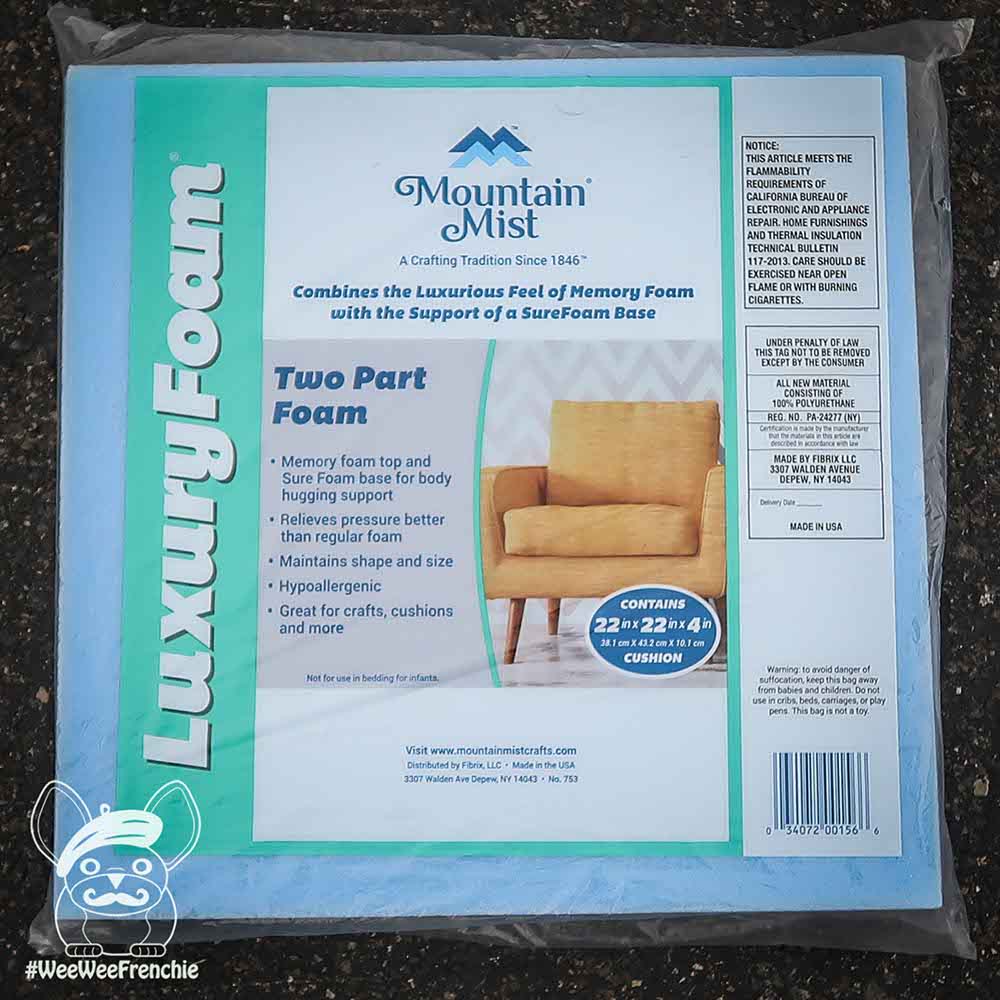
- Measure foam.
- Add on 1 inch to your measurements (you will need ½ inch seam allowance when you sew). Example: The width and length of our foam was 23 inches, and I cut out a 24 inch x 24 inch square for the top of our dog bed. The thickness was 4 inches so I cut 5 inch wide long pieces that were sewn into one long piece to go around the perimeter.
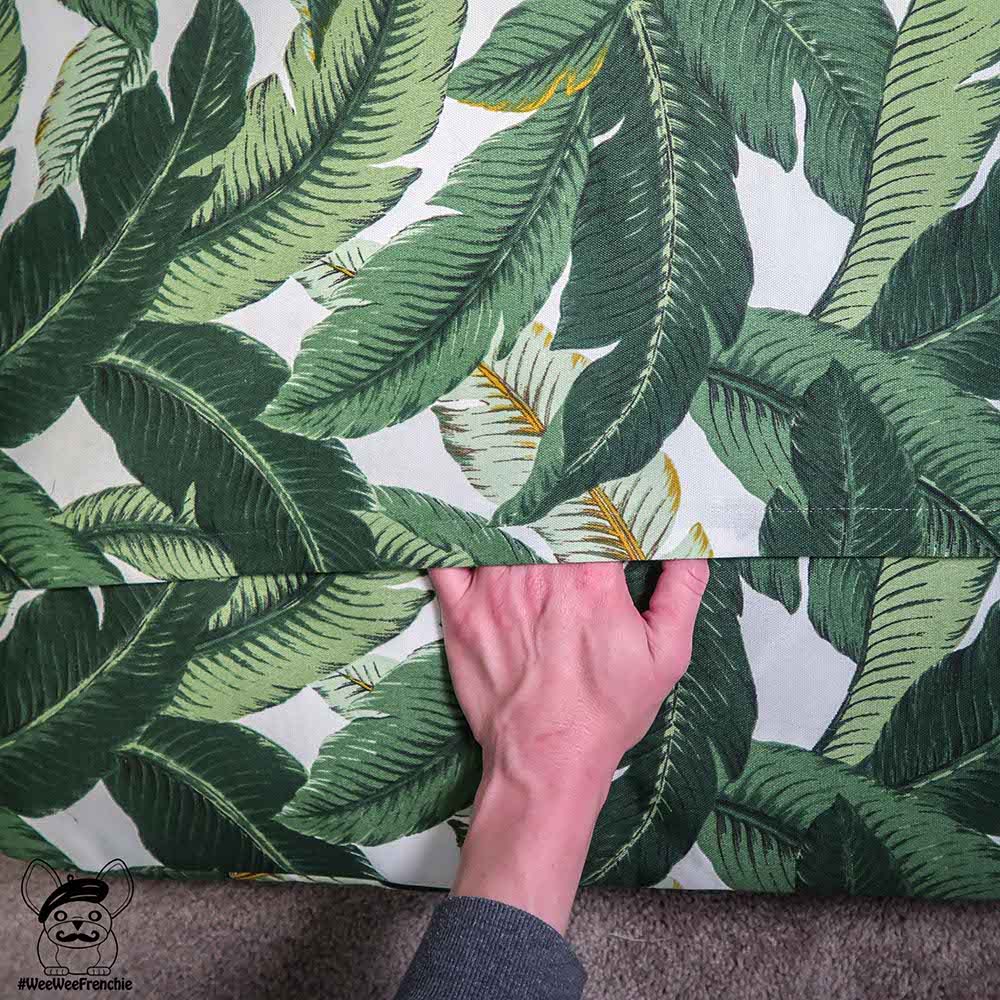
- When cutting the bottom square, it is actually one rectangle that covers 80% of the bottom, while the second rectangle covers 30% of the bottom. This creates a flap to slide the foam mattress into the cover (no zippers needed).
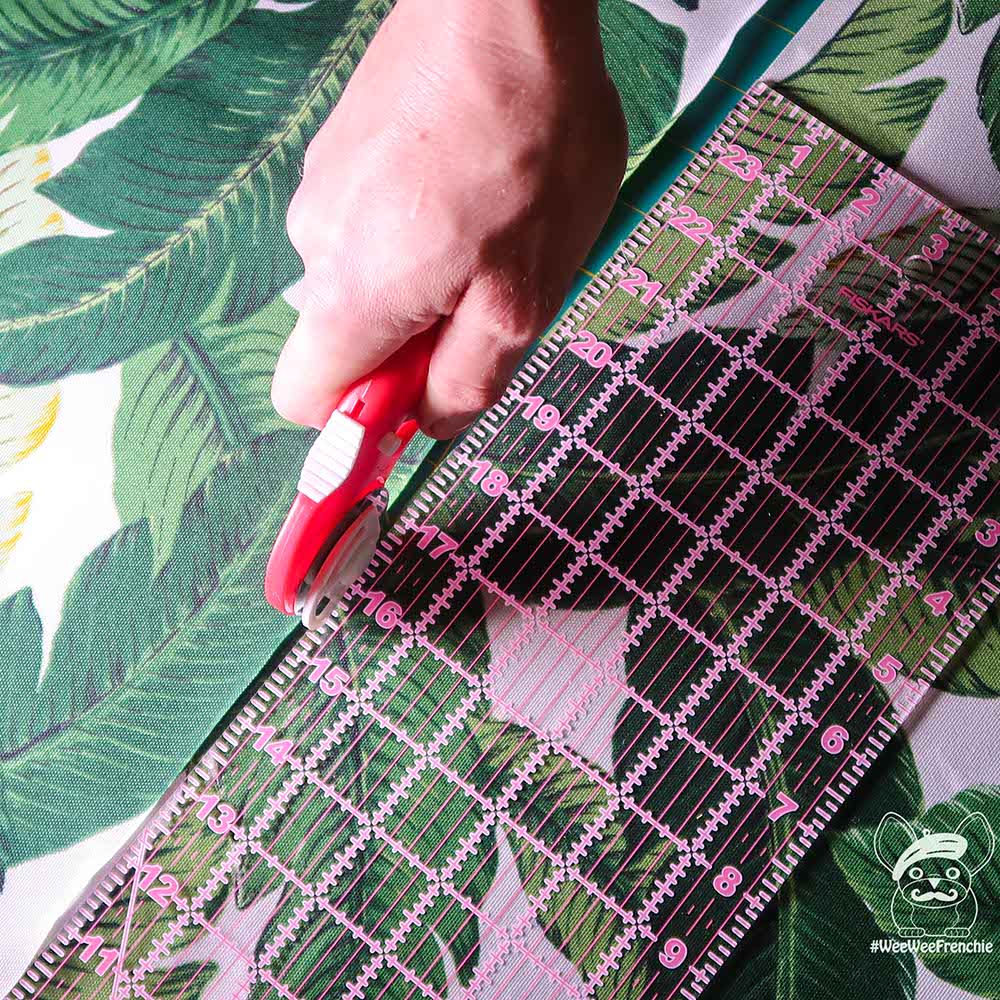
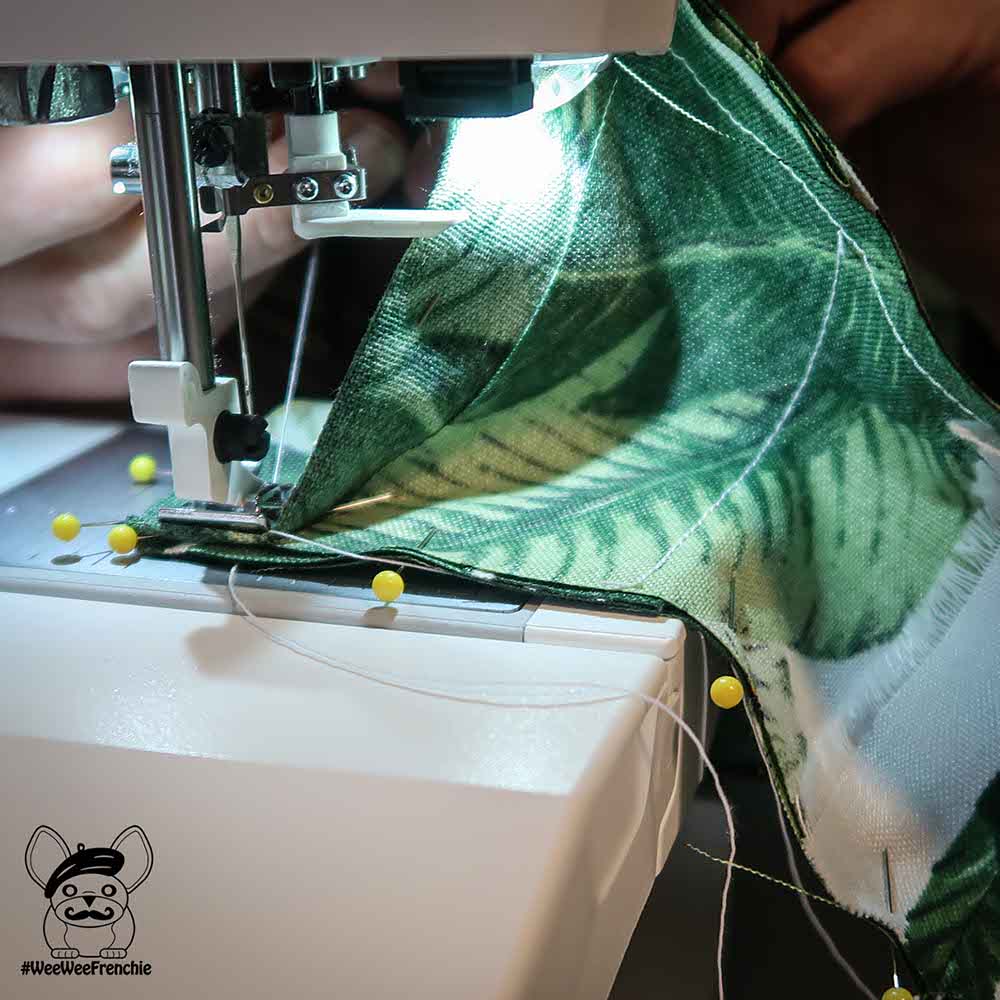
- Make sure to set sewing machine to the heavy woven fabric setting to ensure wider stitches. Use a test piece of fabric and double check that the stitches are set to the proper setting before sewing the dog bed.
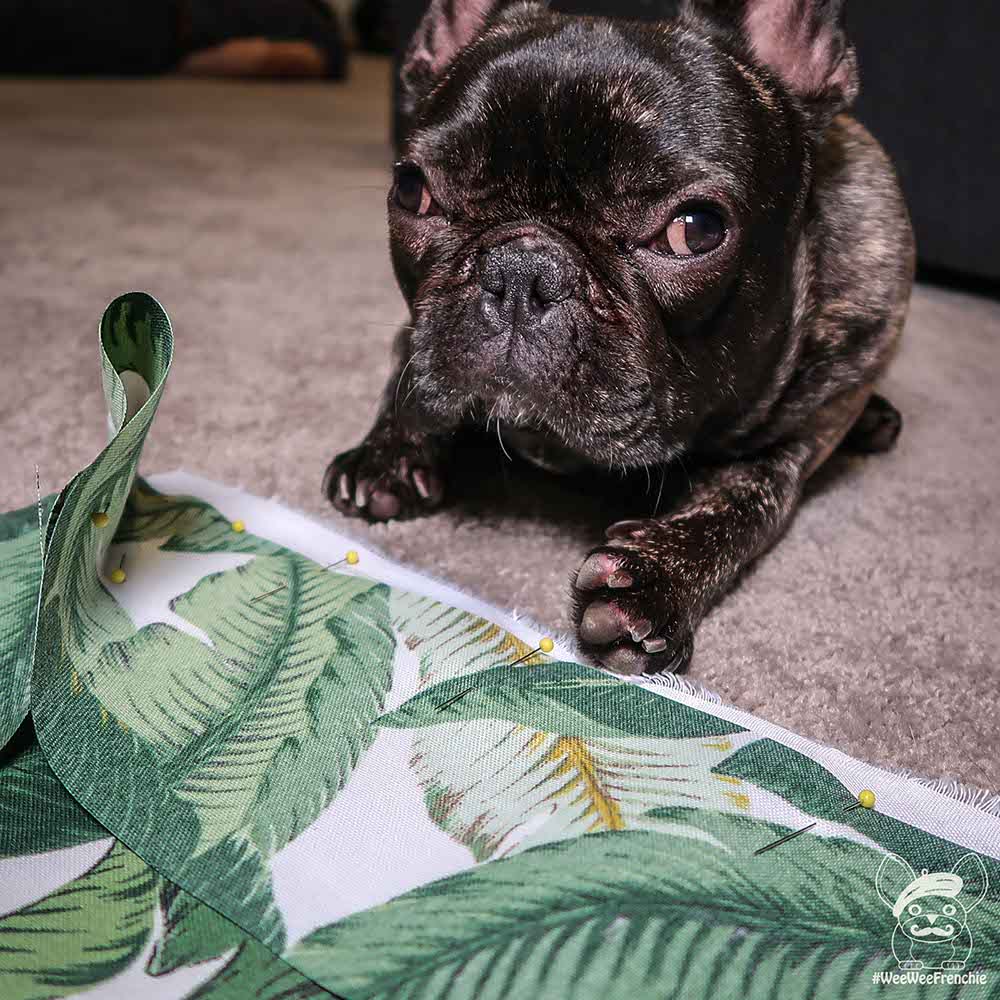
- Pin and sew the outside edge pieces to the top section by using ½ inch seam allowance, making sure to leave a ½ inch unstitched section at the corners. (we will finish the corners later).
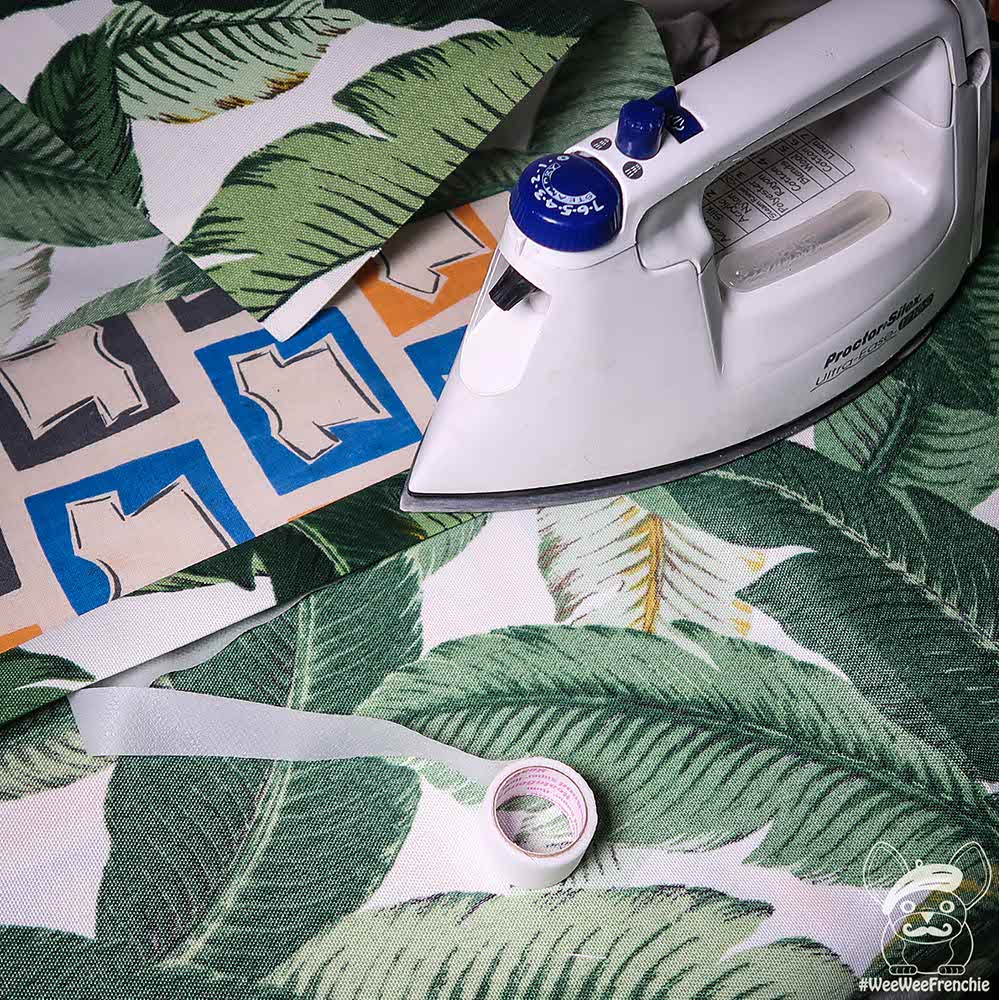
- Take flap sections and where the flap will be exposed on dog bed, fold over ½ inch edge and iron. Fold same section again but fold over 1 inch and iron. Taking double-sided adhesive tape, put tape under rolled over flap and iron into place so that the raw edge is hidden. To make more durable, you can also stitch flap edge down for long-lasting durability, which is what we did for our cover.
- Pin the bottom section of fabric to the edge pieces, making sure to lay the bigger section to be on top when the cover will be turned right-side out. Laying the flaps this way allows for easier insertion of the mattress.
- Sew the bottom section to the edges, remembering to leave a ½ inch seam allowance and a ½ inch unstitched section at the corners. I also double stitched and used a zig-zag stitch on the seam where the two flaps overlap. This area will need to be reinforced since it will need to withstand stretching and pulling when inserting and removing the mattress foam.
- At the corners, pin together the edge pieces to allow a ½ inch seam allowance. (if you left this without stitching, the corners would billow out and look unpolished. When stitching, make sure you do not stitch the top or bottom sections (only the corner pieces).
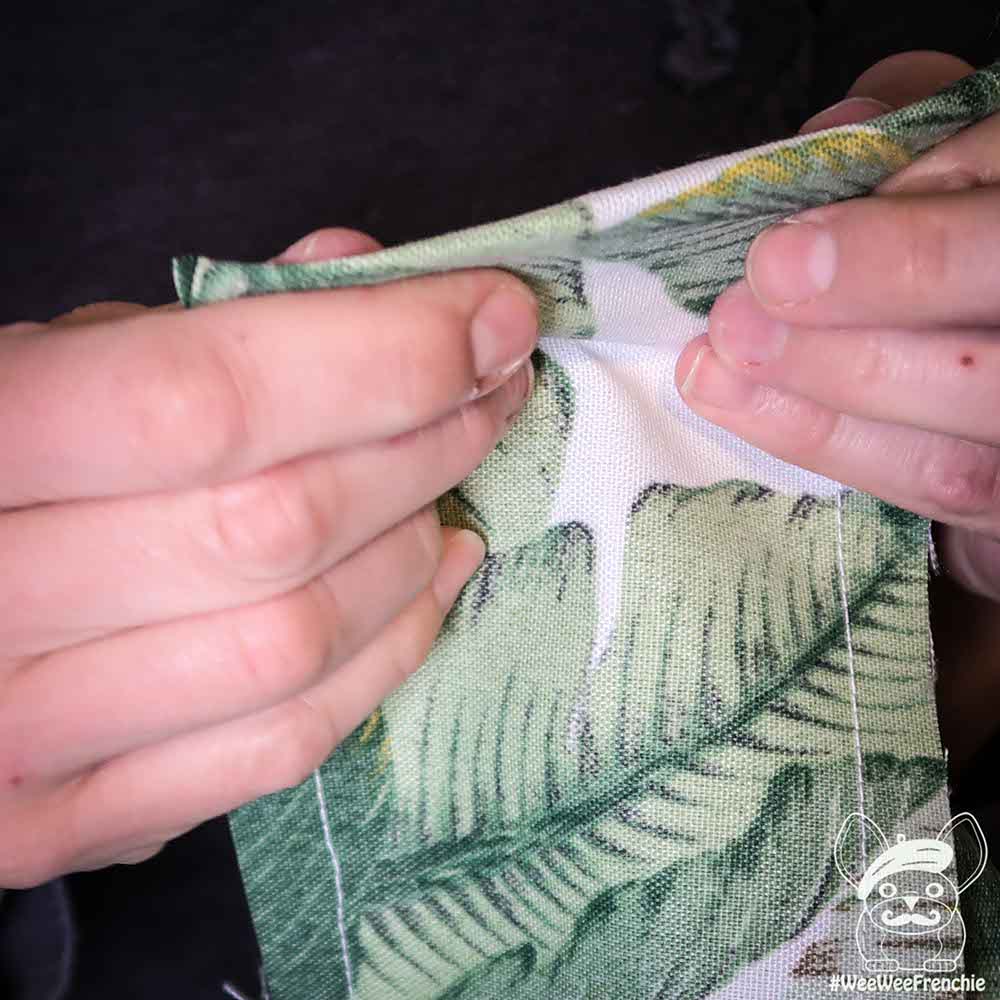
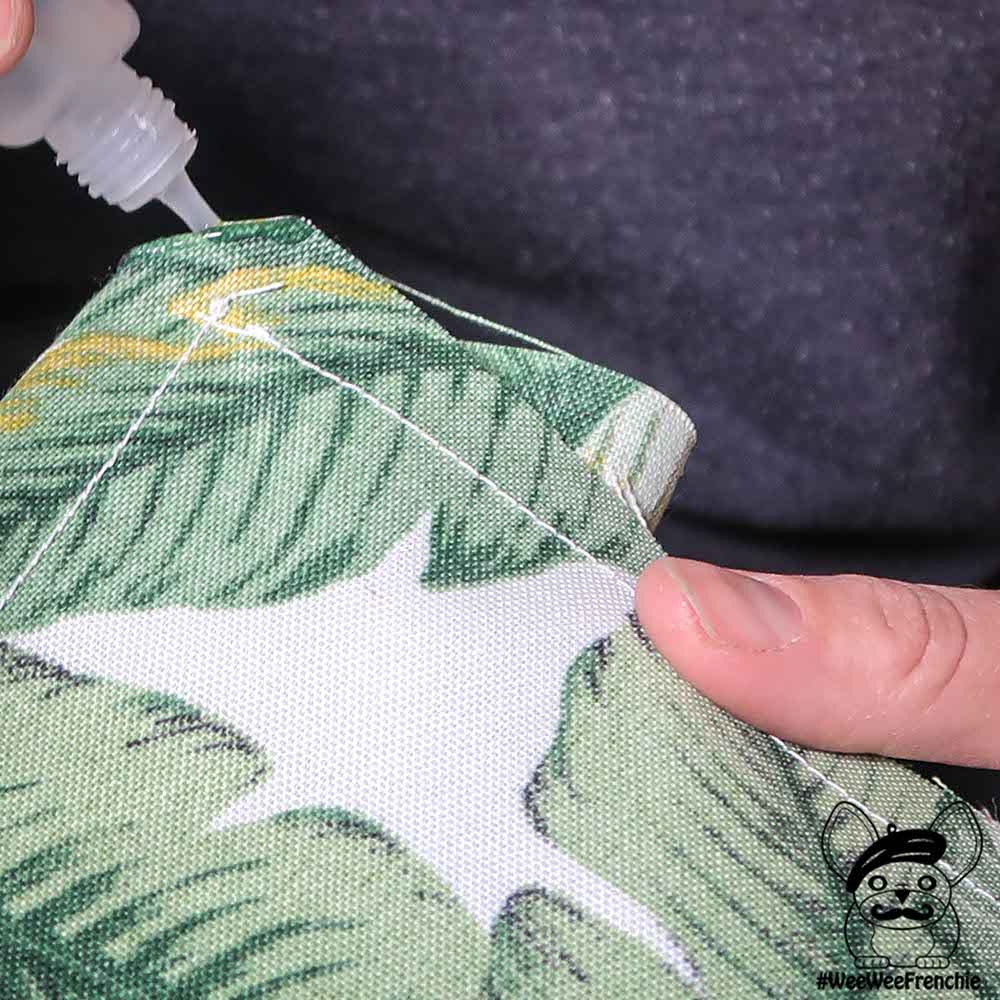
- Trim away the unstitched seam fabric diagonally at the corner so that the fabric is not bunching up when the cover is reversed (see picture of fray check application on right side to see diagonally cut corner).
- Take fray check and go around the edges to prevent fraying. If you prefer, you can also use a zig-zag stitch closer to the edge to prevent fraying (in addition to a straight stitch).
- Turn cover right-side out.
- Insert mattress foam (I left the plastic on the foam just in case my dog has an accident but you can remove the plastic off the foam for noise reduction).
- Let dog enjoy!
Costs:
Fabric (2 yards) $17.88
Mattress foam from Joann (fabrics shop) $24 - (regular price $59.99 but with 60% off coupon, it was a $35.99 discount).
Heavy Duty Thread $1.74 (also on sale from regular price of $2.49)
Dritz double-sided clear adhesive tape, 0.75 inch by 5 yards $4.99
*We already owned sewing machine, iron, and sewing pins
Total cost for dog bed $48.61
Compared to $200 dog bed in the boutique shop
*This equals a $151.39 savings!*
There are many reasons for making your own dog bed. First, you can control the quality of materials. There are always options for making something cheaper but quality can suffer. Also, you get to choose the fabric to match your own household theme. That means you can make your dog bed as modern or retro as you want! Lastly, making your own dog bed means you can make different dog bed covers for different seasons. Your dog will always have the latest in seasonal bedding trends!
Phoenix loved the new mattress before I began putting together the cover for the dog bed. Now that the project is done, the boys love their new bed. It is a stylish, modern dog bed that is also high quality too. I wanted a more modern dog bed to keep in our formal living room, and that is what we have now. It is small enough to keep in a corner but stylish enough to become part of our home decor. The dogs are excited to show off their new bed to our guests. Finally, a dog bed that is stylish, while also being very comfortable at an affordable price!
Let’s get crafty!
Please share your pictures of your own hand-made dog beds by using #WeeWeeFrenchieDesign. We cannot wait to see what you create!
Another great video to help you through making your dog bed can be found here. Please remember that we did not use a zipper for our dog bed.